Installation#
Download Kalpa#
To get started, download the latest Kalpa installer for your operating system from the official website:
https://kalpa.bighistory.in/explore-kalpa
Steps:
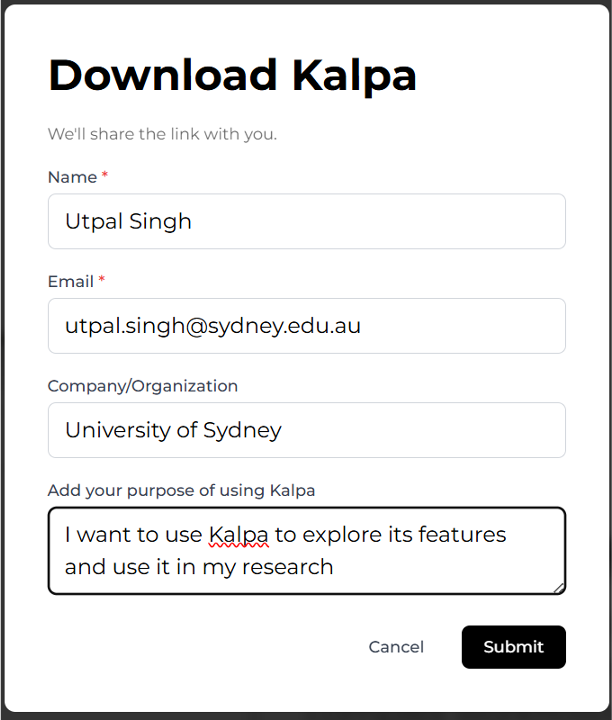
Click on Download Kalpa.
Fill in the required details such as your Name, Email, and Organization.
You will receive an email with a download link for the installer.
Kalpa is available for Windows, macOS, and Linux.
MacOS Installation Instructions#
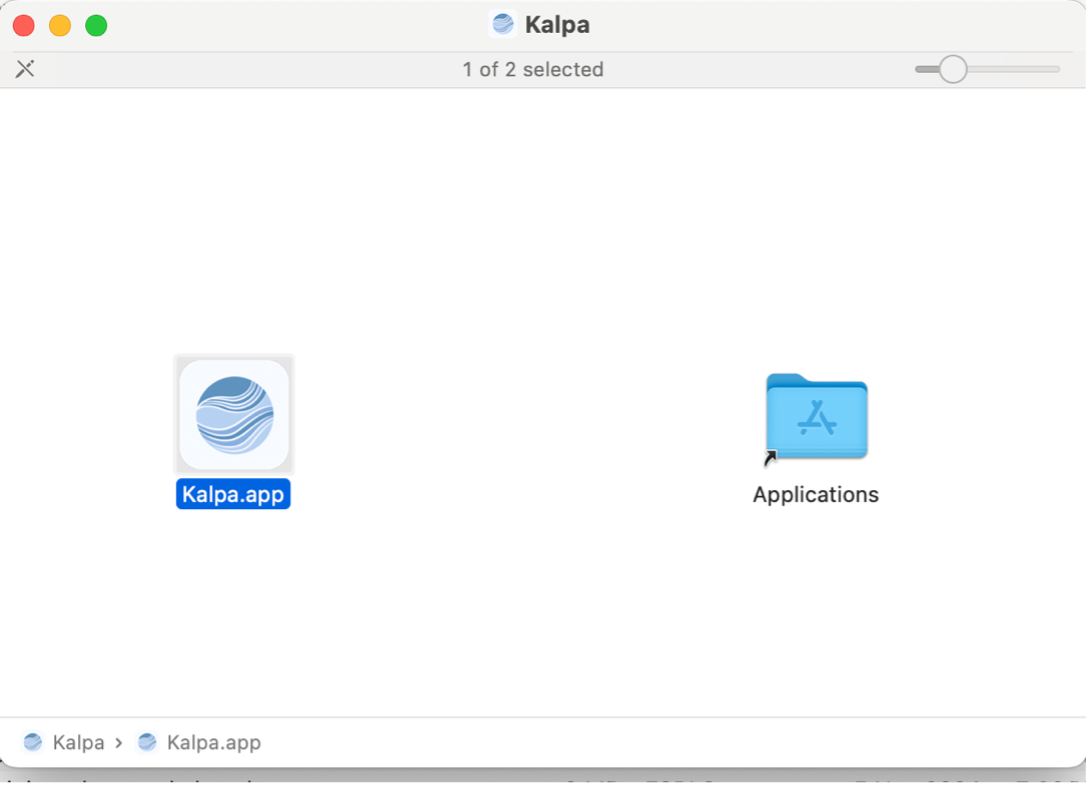
Download: Obtain the latest .dmg file for Kalpa from the official download link.
Install: Drag and drop the .dmg file into the Applications folder.
Launch: Open Kalpa from Launchpad. Upon successful loading, the starting window of Kalpa will appear.
Note
You may need to grant permission to launch Kalpa if your Mac does not allow installation from untrusted sources. Go to Settings -> Privacy and Security.
Windows Installation Instructions#
Install Double-click the kalpa-setup.exe file. A setup window will appear. Click Next and choose the folder where you want to install Kalpa. Make sure to check Yes if prompted to create a desktop shortcut. The installation may take a few minutes to complete.
Note
If you see a warning message saying “Windows protected your PC”, click More Info, then click Run Anyway to continue with the installation.
Setup Follow the installation wizard. Accept the license agreement, click Next, and confirm or change the installation directory. Proceed to complete the setup.
Launch Once installed, you can launch Kalpa from the Start Menu. A setup wizard window will appear.
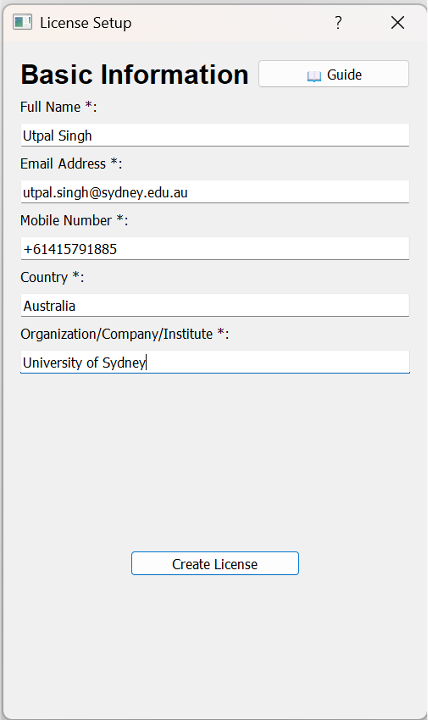
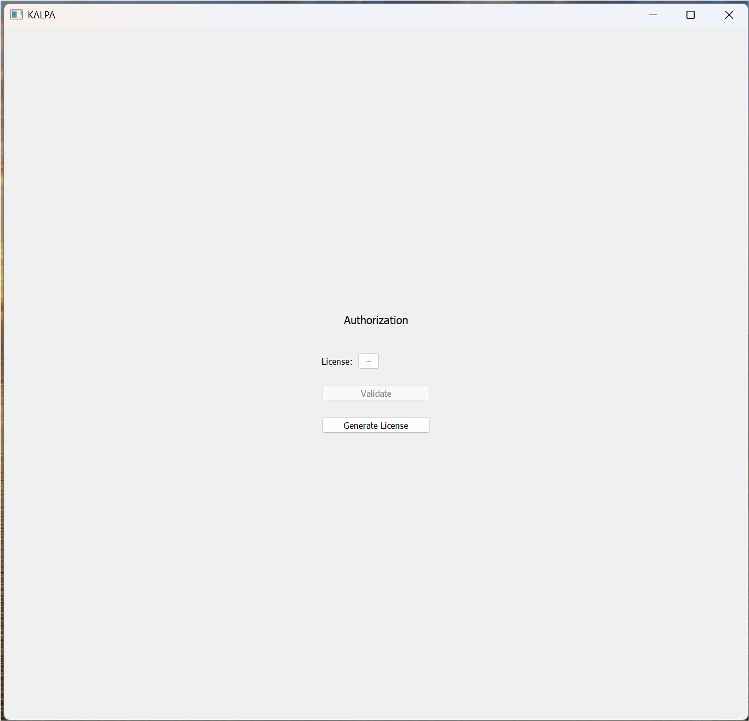
License Activation - If you already have a license file, click on the three dots next to the License File field and select your license file. - If you do not have a license file, click the Generate License button.
Fill in your details (Name, Email, Country, and Organization). Ensure that the Name and Email match the ones you provided earlier on the website: https://kalpa.bighistory.in/explore-kalpa
The license file will be saved in your system’s Downloads folder, typically named as username_license.license.
After generating or selecting the license file, click on the three dots again, browse to the license file, and then click Validate.
Complete Installation Once the license is validated, Kalpa is ready to use.
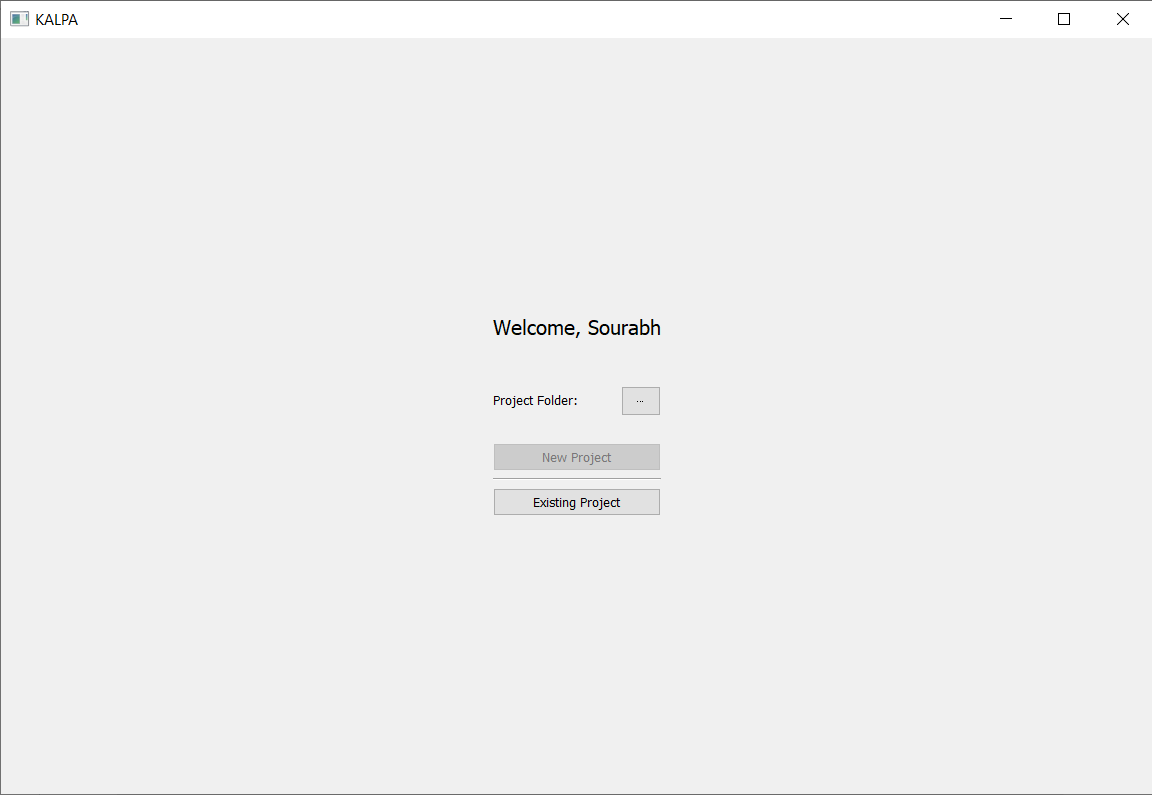
Starting Window#
- When you launch Kalpa, you’ll be greeted by the Starting Window, which prompts you to Select Project Folder.